Soft and Fluffy Cinnamon Rolls
(Tangzhong Method)
Imagine every bite of a cinnamon roll tasting like the soft, gooey center. These rolls make that possible, sweet and tender and melt in your mouth from edge to edge.
Homemade cinnamon rolls are much easier than they look, and this recipe gives you bakery level results every time. The dough is soft and fluffy because of a quick Tangzhong step, and it keeps the rolls tender for days. Most of the process is rising time, so the hands-on work is surprisingly light. These rolls bake up soft and gooey all the way through, with plenty of cinnamon in every bite. They are perfect for weekend mornings, holidays, or anytime you want the best cinnamon rolls you have ever made at home.

About Me
Bla blha yaaydyaydyay balhablah alh ss lhd Bla blha yaaydyaydyay balha blah alh ss lhdBla blha yaaydyaydyay balha blah alh ss lhdBla blha yaaydyaydyay balha blah alh ss lhdBla blha yaaydyaydyay balha blah alh ss lhdBla blha yaaydyaydyay balha blah alh ss lhdfncuejndci ivefdncidcviufnciedncvinefdiueidvbiefbviu huh uuhnyuhiufdhc ihfviu iv fduh viudfvh f uvhiud vfiuvhifhy vifuhv ifd vuid hvuid fvui hh vh vdu vfd vu fhuvhfuihv
Why You’ll Love This Recipe
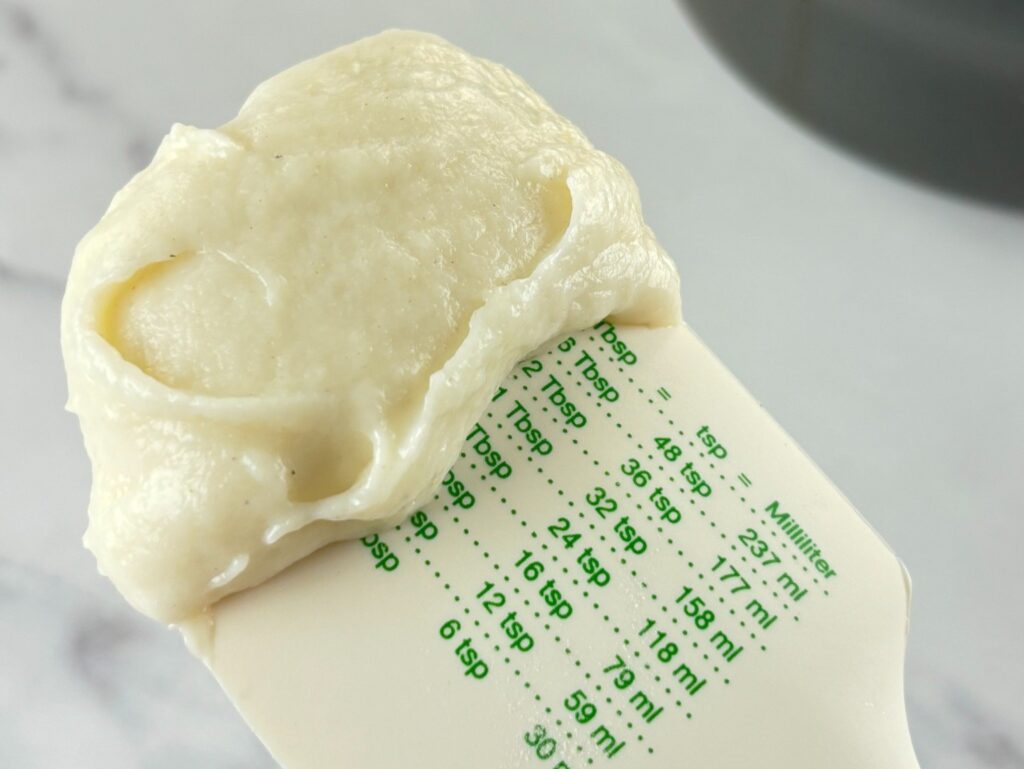
Combine the water, milk, and flour in a small pot over medium heat and start whisking right away. It’ll go from a liquid to a paste-like consistency surprisingly fast, so don’t walk away. In just a couple of minutes, it should look pudding but with a springy texture. Take it off the heat and let it cool a bit.
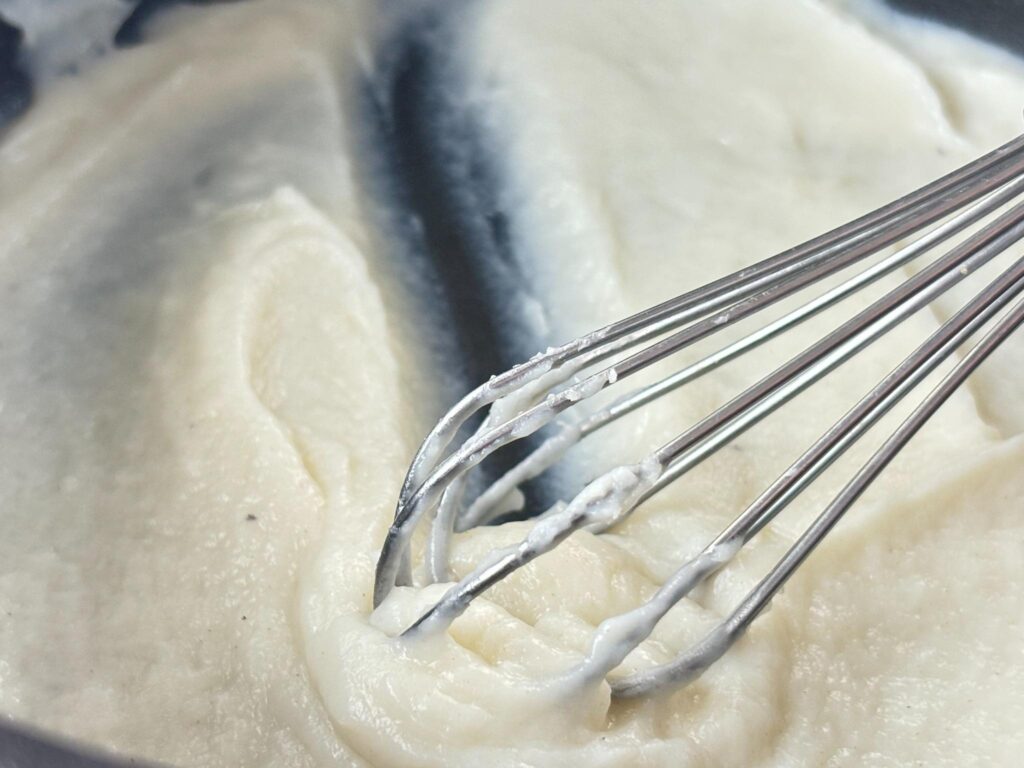
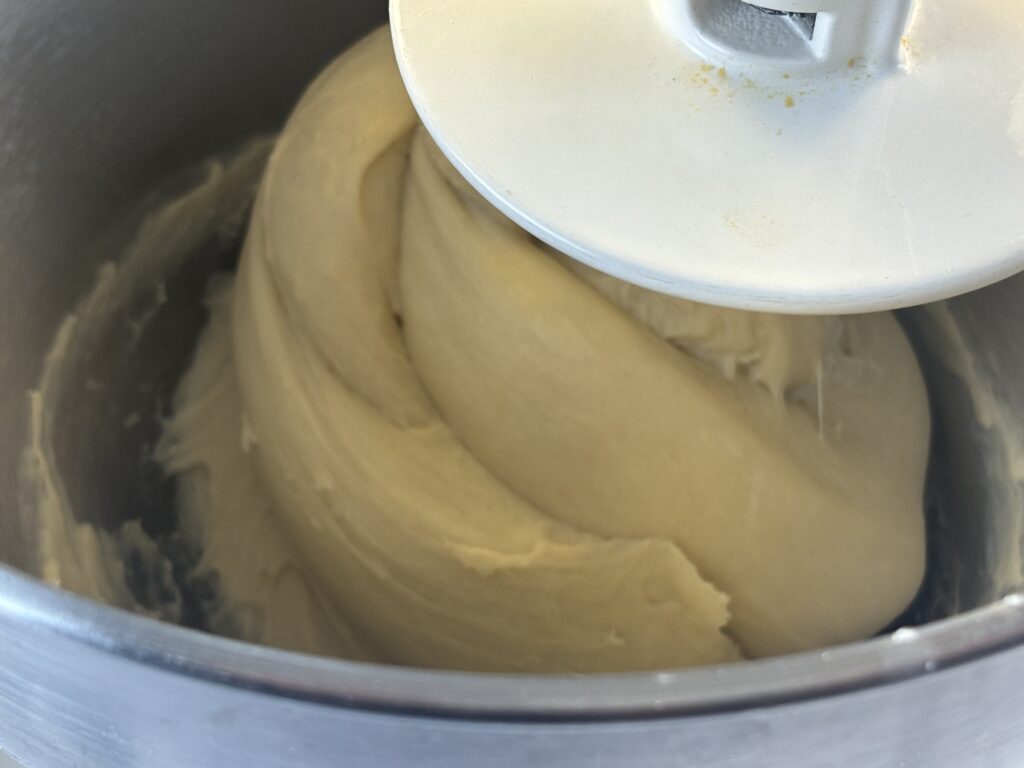
Whisk the flour, sugar, and yeast together in your stand mixer bowl. Add the tangzhong, milk, and egg, then attach the dough hook. Mix on low for about five minutes. The dough will look loose and uneven at this stage. That is what you want before adding the butter.
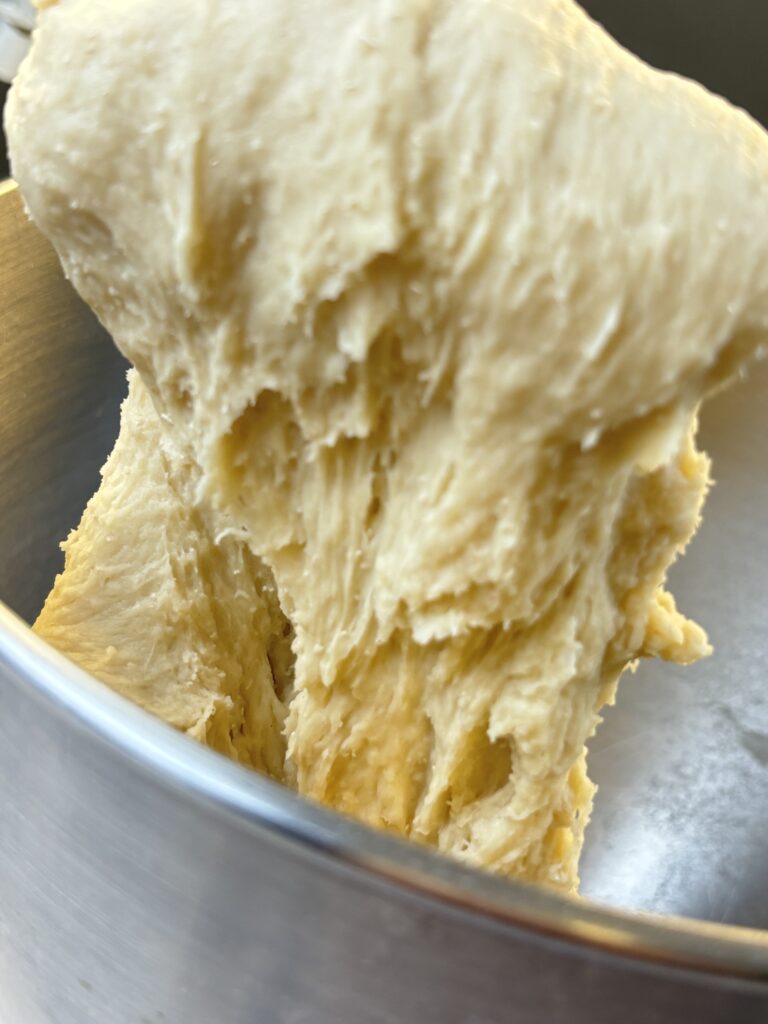
Add the softened butter pieces and mix on low for about 30 seconds. This helps the butter start blending in without flying out of the bowl. Once it begins to come together, knead the dough for a total of ten minutes. Do the first five minutes on medium low (speed 4 on most mixers) and the last five minutes on medium (speed 6 on most mixers).
When the ten minutes are up, the dough should look smooth and elastic. It should be slightly tacky but not sticky enough to cling to your fingers when you lift it into the proofing bowl.
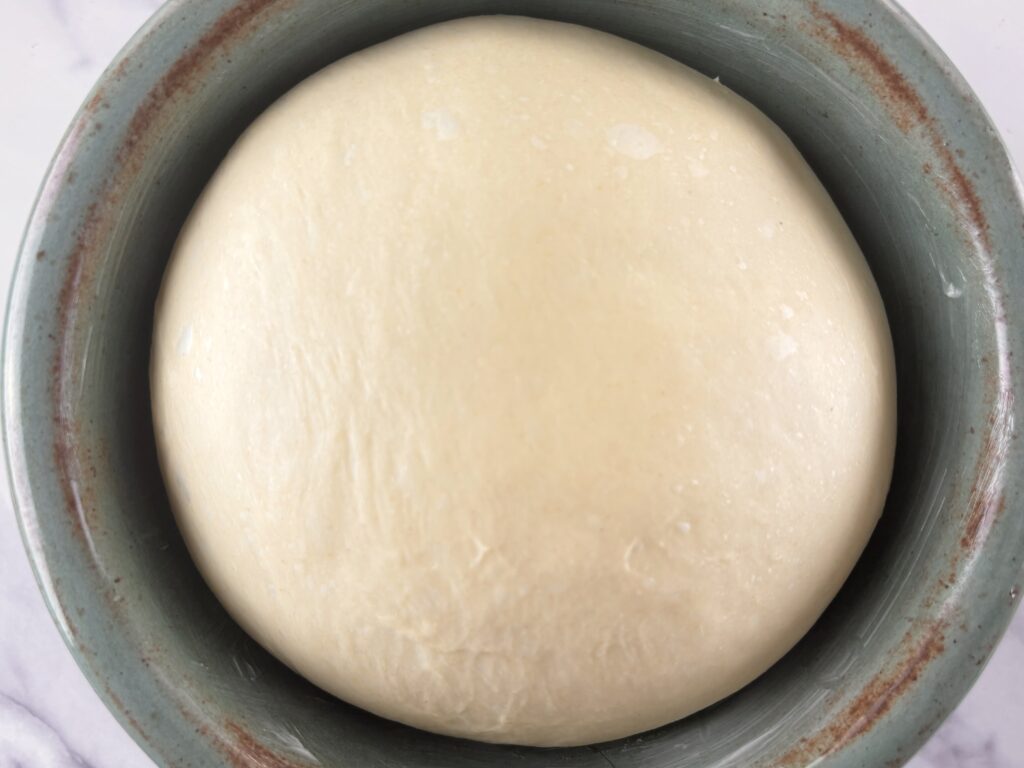
Shape the dough into a smooth ball, then place it in a greased bowl. Cover the bowl tightly with plastic wrap and let it rise in a warm place until it doubles in size, which should take about an hour.
Once the dough has proofed, punch it down gently to release the air, reshape it into a ball, and cover it again for a quick 15-minute rest. This short second rise gives the dough a chance to relax before rolling it out.
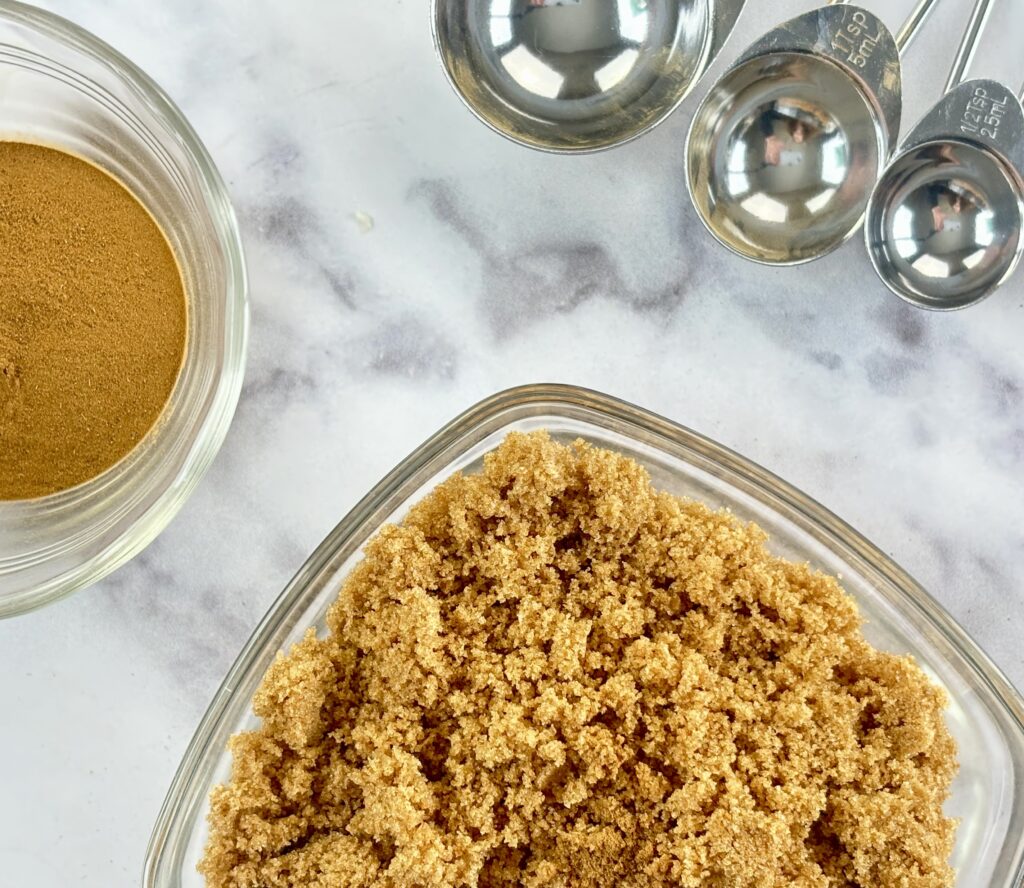
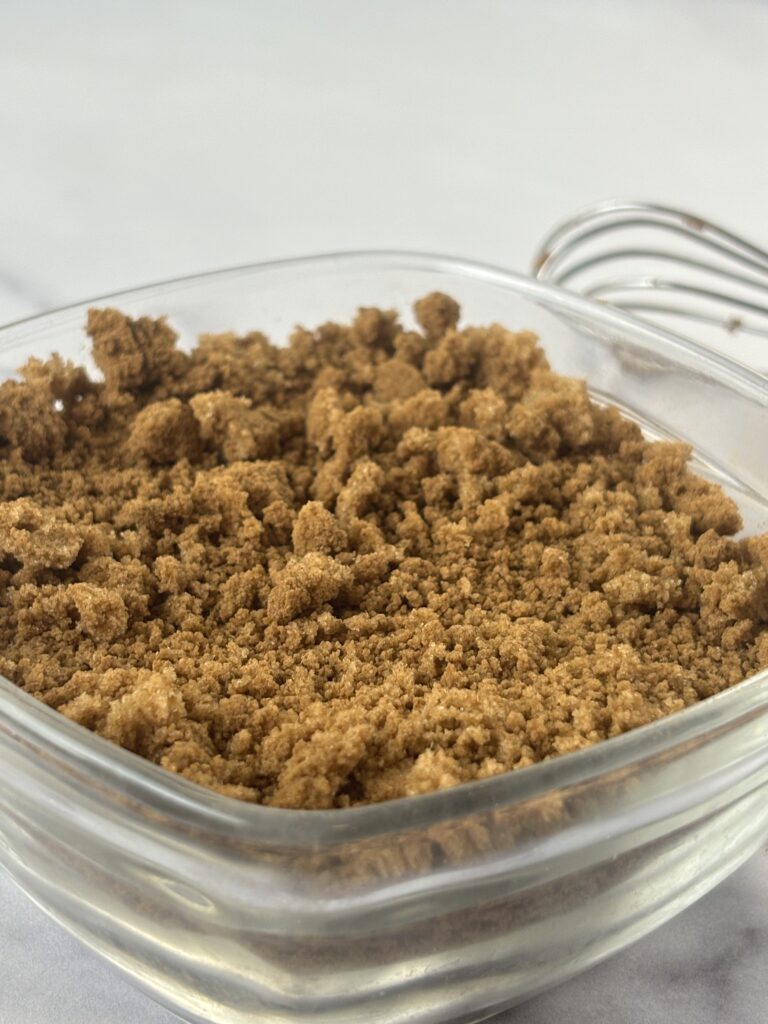
Whisk the brown sugar and cinnamon together in a small bowl until they are fully combined. This is your dry filling mixture, and it will be used in the very next step. Just set it aside for now.
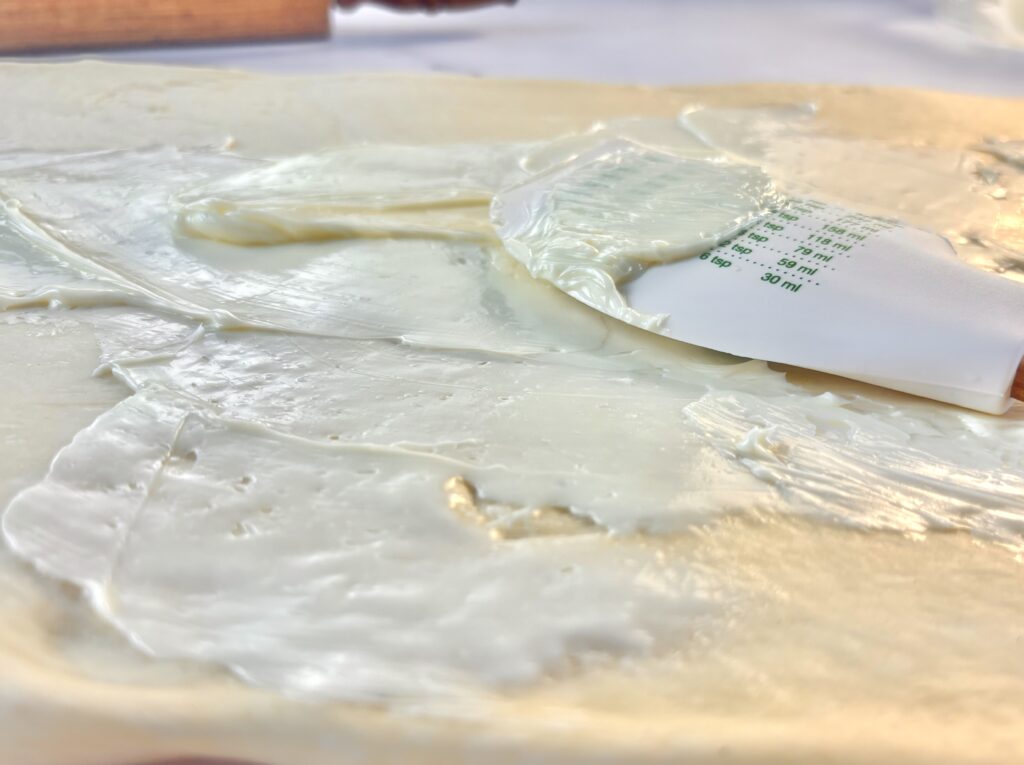
On a very lightly floured surface, roll the dough into a rectangle roughly 18×10 inches. Spread the softened butter over the dough, leaving about a quarter-inch gap from the edges. Next, sprinkle the dry cinnamon-sugar mixture evenly across the buttered dough. Gently press the mixture into the butter with your hands or run a rolling pin over it a few times (lightly).
Starting with the long edge facing you, roll the dough up snugly into a log. Use a bread knife or the sharpest knife you have to cut the dough into 2-inch sections. When cutting, use a light sawing motion, instead of pressing straight down, to avoid smooshing the rolls.
Place the rolls in your cake pan, leaving some space between each one so they have room to puff up in the pan during the final rise.


Once the rolls are arranged in your cake pan, cover them loosely with plastic wrap. Set the pan in a warm spot to rise for 30 to 40 minutes. By the end of this time, the rolls will have expanded and will likely be touching each other now, and that’s perfectly okay, it means they’re ready for the next step!
While they’re proofing, preheat your oven to 350°F so it’s ready to go.
Put the rolls into your preheated oven and bake at 350°F for 20 to 30 minutes. Around the halfway point, you can set a piece of foil on top if the rolls are browning faster than you want. If you like a crispier top, just leave them uncovered the whole time.
You can also brush a little heavy cream on the tops before baking. Keep the cream on the rolls themselves instead of letting it pool in the bottom of the pan. If it collects underneath, it can caramelize and leave a crunchy caramel layer on the bottoms. A light brush on top is all you need. You can mix a splash of vanilla extract into the cream if you want a little extra flavor.